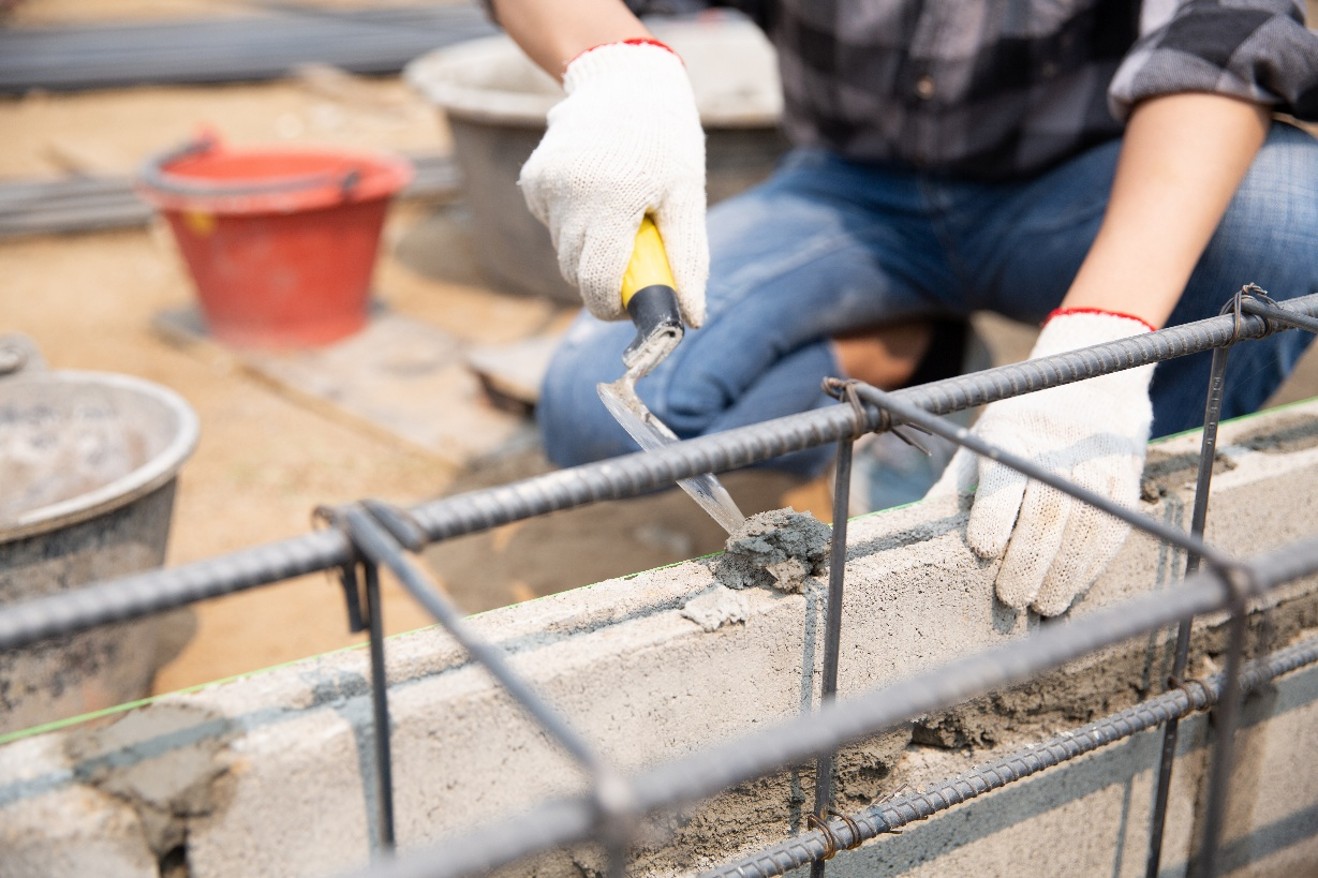
Are you looking to upgrade your outdoor living space with a pristine new patio, a sturdy parking pad for your vehicles, or a durable floor for a new backyard shed? If you live in our beautiful South Bay region, you know that a high-quality outdoor area makes all the difference in enjoying the year-round sunshine.
Pouring a durable surface requires precise preparation, a solid understanding of local soil conditions, and the right techniques. If a home improvement project is on your horizon, you have likely asked yourself how the entire process unfolds from start to finish. We created this comprehensive guide to walk you through the essential phases of planning, preparing, and pouring a beautiful, long-lasting surface that stands the test of time.
Table of Contents
- What is Needed for a Concrete Slab?
- Planning, Layout, and Excavation
- Building Formwork for Concrete Installation in San Jose
- Pouring, Finishing, and Curing Your New Surface
- Frequently Asked Questions
What is Needed for a Concrete Slab?
Before turning on a mixer or ordering a transit truck, gathering the correct tools and supplies is crucial. Skipping a basic item mid-pour can ruin your project finish because concrete waits for no one once it starts setting.
To achieve professional-level results, you need a mix of site preparation tools, structural materials, and finishing equipment:
- Layout and Formwork Materials: Wooden boards (typically 2x4s or 2x6s), sturdy wooden or metal stakes, layout strings, a tape measure, and a reliable carpenter’s level.
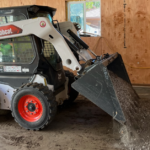
- Excavation Tools: Shovels, a wheelbarrow, and a mechanical plate compactor (highly recommended for stabilizing the subgrade).
- The Subbase: Crushed gravel or crushed stone to form a stable, well-draining layer beneath the pour.
- Reinforcement: Steel rebar or welded wire mesh, along with rebar chairs to keep the metal lifted into the center of the pour.
- Finishing Equipment: A screed board (a straight 2×4 board works well), a magnesium hand float, a bull float for larger areas, an edging tool, and a groover for control joints.
- Safety Gear: Heavy-duty work boots, safety glasses, and durable rubber gloves to protect your skin from the caustic nature of wet cement.
Planning, Layout, and Excavation
Every great structure begins with careful planning. First, check with local building departments regarding permits, setbacks, and utility lines. Always dial 811 before digging to ensure you do not strike underground water, gas, or electric lines.
Once the safety checks are complete, map out the exact footprint of your project. Drive wooden stakes slightly outside the planned corners of your new surface. Stretch tight mason lines between these stakes to outline the perimeter. To ensure your layout forms a perfect rectangle or square, use the classic 3-4-5 triangle rule. Measure three feet along one side and four feet along the adjacent side. The diagonal distance between those two points must equal exactly five feet. If it does, your corner forms a perfect 90 degree angle.
A durable installation relies entirely on the hidden foundation beneath it. If you pour material over uneven ground, loose soil, or decaying organic debris, your surface will settle unevenly and crack under pressure. Start by digging out the grass, roots, and topsoil within your outlined area. The depth of your excavation must account for both the thickness of the stone subbase and the thickness of the concrete itself. For example, if you plan for a 4-inch-thick surface over a 4-inch gravel base, you need to dig down 8 inches.
Building Formwork for Concrete Installation in San Jose
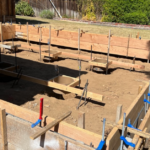
The formwork acts as the mold that holds the heavy, liquid material in place until it hardens. Cut your lumber to the correct lengths and align the boards with your layout strings. Drive wooden stakes into the ground along the outside of the boards every three feet to prevent the forms from bowing outward under the intense pressure of the wet pour.
Drive screws through the stakes into the form boards, ensuring the screw heads sit on the outside for easy removal later. A critical step during form construction is establishing a slight slope. To prevent rainwater from pooling on your surface, slope the forms away from your home or adjacent structures at a rate of 1/4 inch per linear foot.
Our local climate in the South Bay means dealing with unique clay soils that shrink and swell. Because of this, proper base preparation during your Concrete Installation in San Jose is non-negotiable. After clearing the dirt, use a mechanical plate compactor to pack down the native soil. Next, spread your crushed gravel evenly across the excavation zone and compact it thoroughly. This stone layer acts as a structural cushion, distributes weight evenly, and prevents moisture from wicking up into your finished structure.
Pouring, Finishing, and Curing Your New Surface
With the site prepped, the forms braced, and the steel in place, you are ready for the main event. For small projects, mixing bags in a mechanical mixer works fine. For larger structures like patios and driveways, ordering a delivery truck saves immense time and labor.
The Pour and Screeding
Wet the gravel subbase slightly so it does not suck moisture out of the wet mix. Pour the concrete into the forms, starting at the corners and working your way inward. Use shovels or rakes to spread it out, making sure to pull your rebar mesh up into the middle of the wet layer. As soon as the forms are filled slightly over the top edges, use a long, straight 2×4 board to screed the surface. Rest the board on top of the side forms and move it back and forth in a sawing motion while pulling it forward to level the wet mix perfectly flat.
Floating and Edging
Immediately after screeding, run a large bull float across the surface. This smooths out ridges left by the screed board and pushes the rough stone aggregate down, bringing the smooth cement paste to the very top. Let the surface rest. You will notice a thin sheet of water rise to the top, known as bleed water. Wait until this moisture evaporates before continuing. Once the bleed water disappears, use an edging tool along the forms to create clean, rounded edges that resist chipping.
Creating Joints and Curing
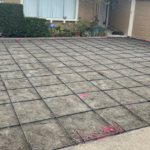
Run a groover tool across the surface to create control joints. These joints act as intentional weak points. If the material shrinks or moves, it will crack neatly along the bottom of these grooves rather than wildly across your beautiful surface. Space your joints no further apart than 10 to 12 feet for a standard 4-inch pour. Finally, give the surface its final texture. A light broom finish provides an excellent non-slip texture for outdoor areas. Once finished, keep the surface damp by misting it with water and covering it with plastic sheeting. Proper curing keeps the moisture locked in, allowing the chemical reaction to complete so the structure reaches its full designed strength.
Frequently Asked Questions(FAQs)
When it comes to executing a flawless Concrete Slab Installation in San Jose, homeowners often have excellent questions about the technical details. Here are the answers to the most common questions we receive:
What is needed for a concrete slab?
You need formwork lumber, stakes, screws, a layout string, gravel for the subbase, steel rebar or wire mesh, concrete mix, and finishing tools like a screed, bull float, edger, and groover. Safety equipment including gloves, boots, and eye protection is also required.
How thick should a concrete slab be?
For standard walkways, residential patios, and shed bases, a thickness of 4 inches is ideal. If you are constructing a driveway or pad meant to support heavy vehicles or large trucks, increasing the thickness to 6 inches provides the necessary structural support to prevent cracking under heavy loads.
Do I need to level the ground first?
Yes, the ground must be completely cleared and leveled first. Pouring over uneven dirt, soft spots, or roots creates varying thicknesses in the pour and leads to rapid structural failure, settling, and severe cracking.
How much does a concrete slab cost?
The total cost depends heavily on project size, excavation needs, site accessibility, and current material prices. On average, homeowners can expect to invest between $6 and $12 per square foot for a professionally installed surface with proper base preparation and reinforcement.
How long does concrete take to dry?
While it feels hard to the touch within 24 to 48 hours, it does not actually dry through simple evaporation; it undergoes a chemical hydration process. It typically takes about 7 days to reach roughly 70% of its full structural strength and a full 28 days to cure completely.
Do concrete slabs need rebar?
While very small, nonstructural pads can survive without it, any standard slab subjected to weight or changing weather elements needs rebar or wire mesh. Steel reinforcement gives the structure high tensile strength, holding it together if the ground shifts.
Can concrete be poured on dirt?
We highly advise against pouring directly onto raw dirt. Soil expands and contracts significantly when wet, which causes the heavy material above it to shift unevenly and break apart. A compacted layer of gravel is essential to provide stable structural support and proper drainage.
Need Professional Help with Your Next Project?
While a small project can be a fun weekend DIY challenge, larger pours require swift coordination, heavy machinery, and specialized skills to avoid costly mistakes. At Baca Constructions, we bring over 25 years of local hands-on experience to every backyard we transform. From custom patios to heavy-duty driveways, our skilled team manages the heavy lifting, precise grading, and perfect finishing your property deserves. Contact Baca Constructions today for a completely free project estimate!